November 9, 2024

So, you’ve come up with an exciting idea for an app – but now what? Turning an idea into a working app can seem overwhelming, especially if you’re new to the tech world. But don’t worry! With some planning and the right steps, you can bring your app idea to life. Here’s a simple, guide to help you move forward.
Step 1: Clearly Define Your App Idea
Start by writing down the details of your app idea. Describe what the app does, who it’s for, and why you think it’s needed. Think about these questions:
- Who is your app for? Identify who you want to use your app, like students, small business owners, or fitness enthusiasts.
- What problem does it solve? Think about what makes your app unique and helpful.
- What features do you want? Create a list of “must-have” features that you think are essential to your app.
Having a clear picture of your app idea will help guide every decision from here on.
Step 2: Research the Market
Before investing too much time or money, check if your app idea has a place in the market. Try these simple research steps:
- Ask potential users for feedback. Share your idea with friends, family, or people who might benefit from your app. Ask them if they would use it, what they’d expect from it, and if they think it’s needed.
- Search for similar apps. Check app stores to see if similar apps exist. If there are similar ones, look at their reviews to see what users like or dislike about them. This can give you ideas for making your app even better.
Understanding what’s already out there will help you refine your app idea and make it more unique.
Step 3: Create a Simple Plan
Once you’re confident your app idea has potential, create a plan. This doesn’t have to be complex – a few pages with the basics are enough. Include:
- A basic outline of the app’s structure – what pages or screens it will have.
- Descriptions of each feature – for example, “users can create an account,” “a calendar feature,” or “push notifications.”
- A timeline for when you’d like each part to be done.
Having a plan helps you stay on track and makes it easier to communicate your vision to any designers or developers you might hire later.
Step 4: Work with a UI/UX Designer
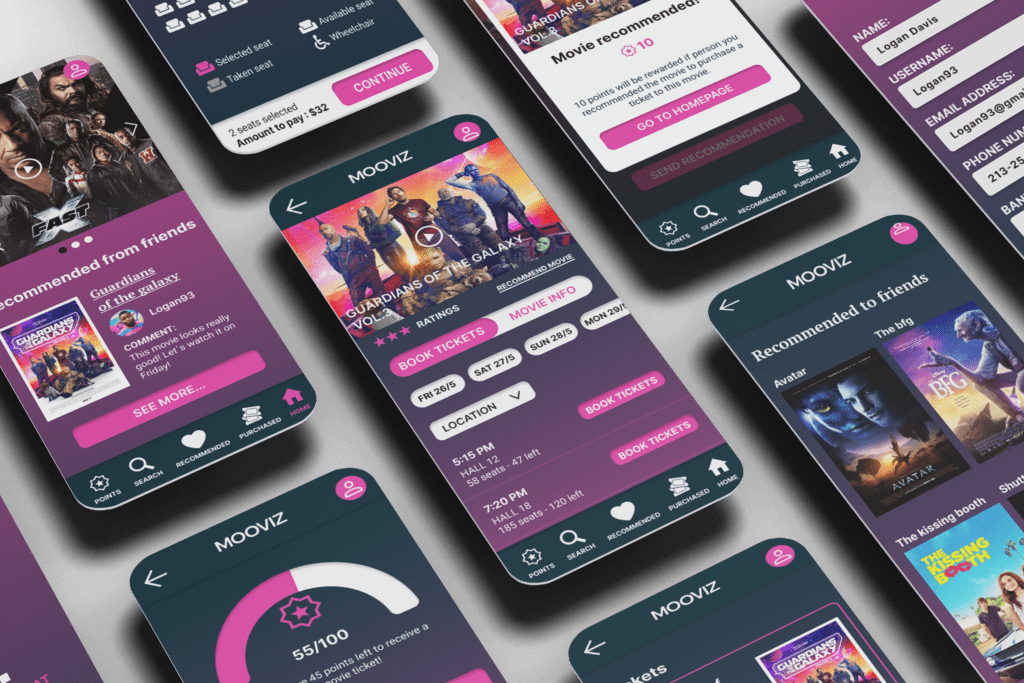
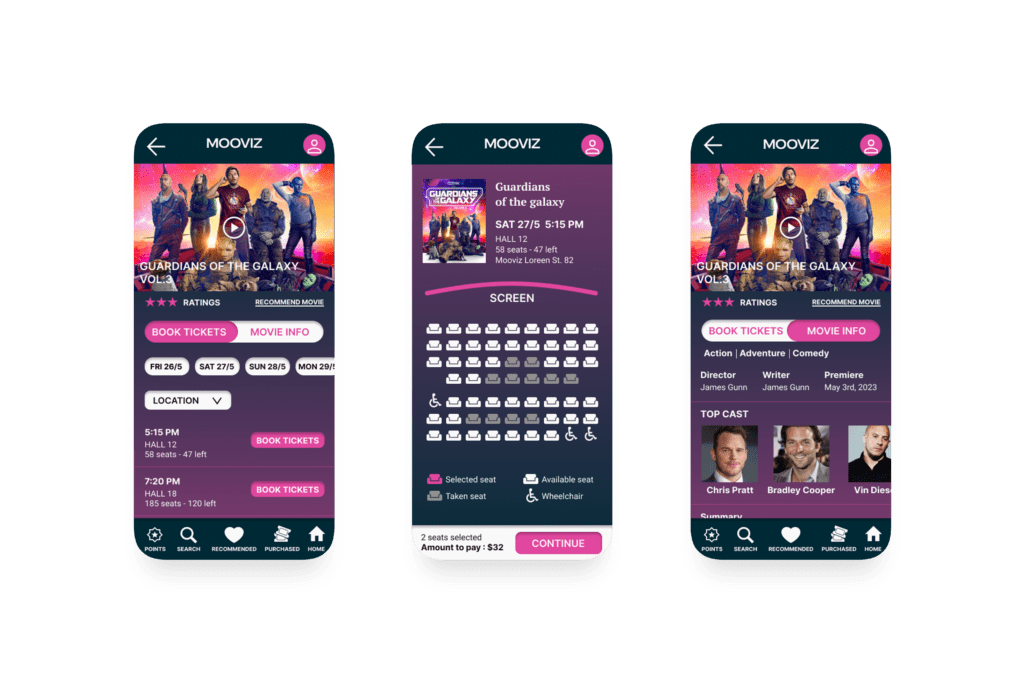
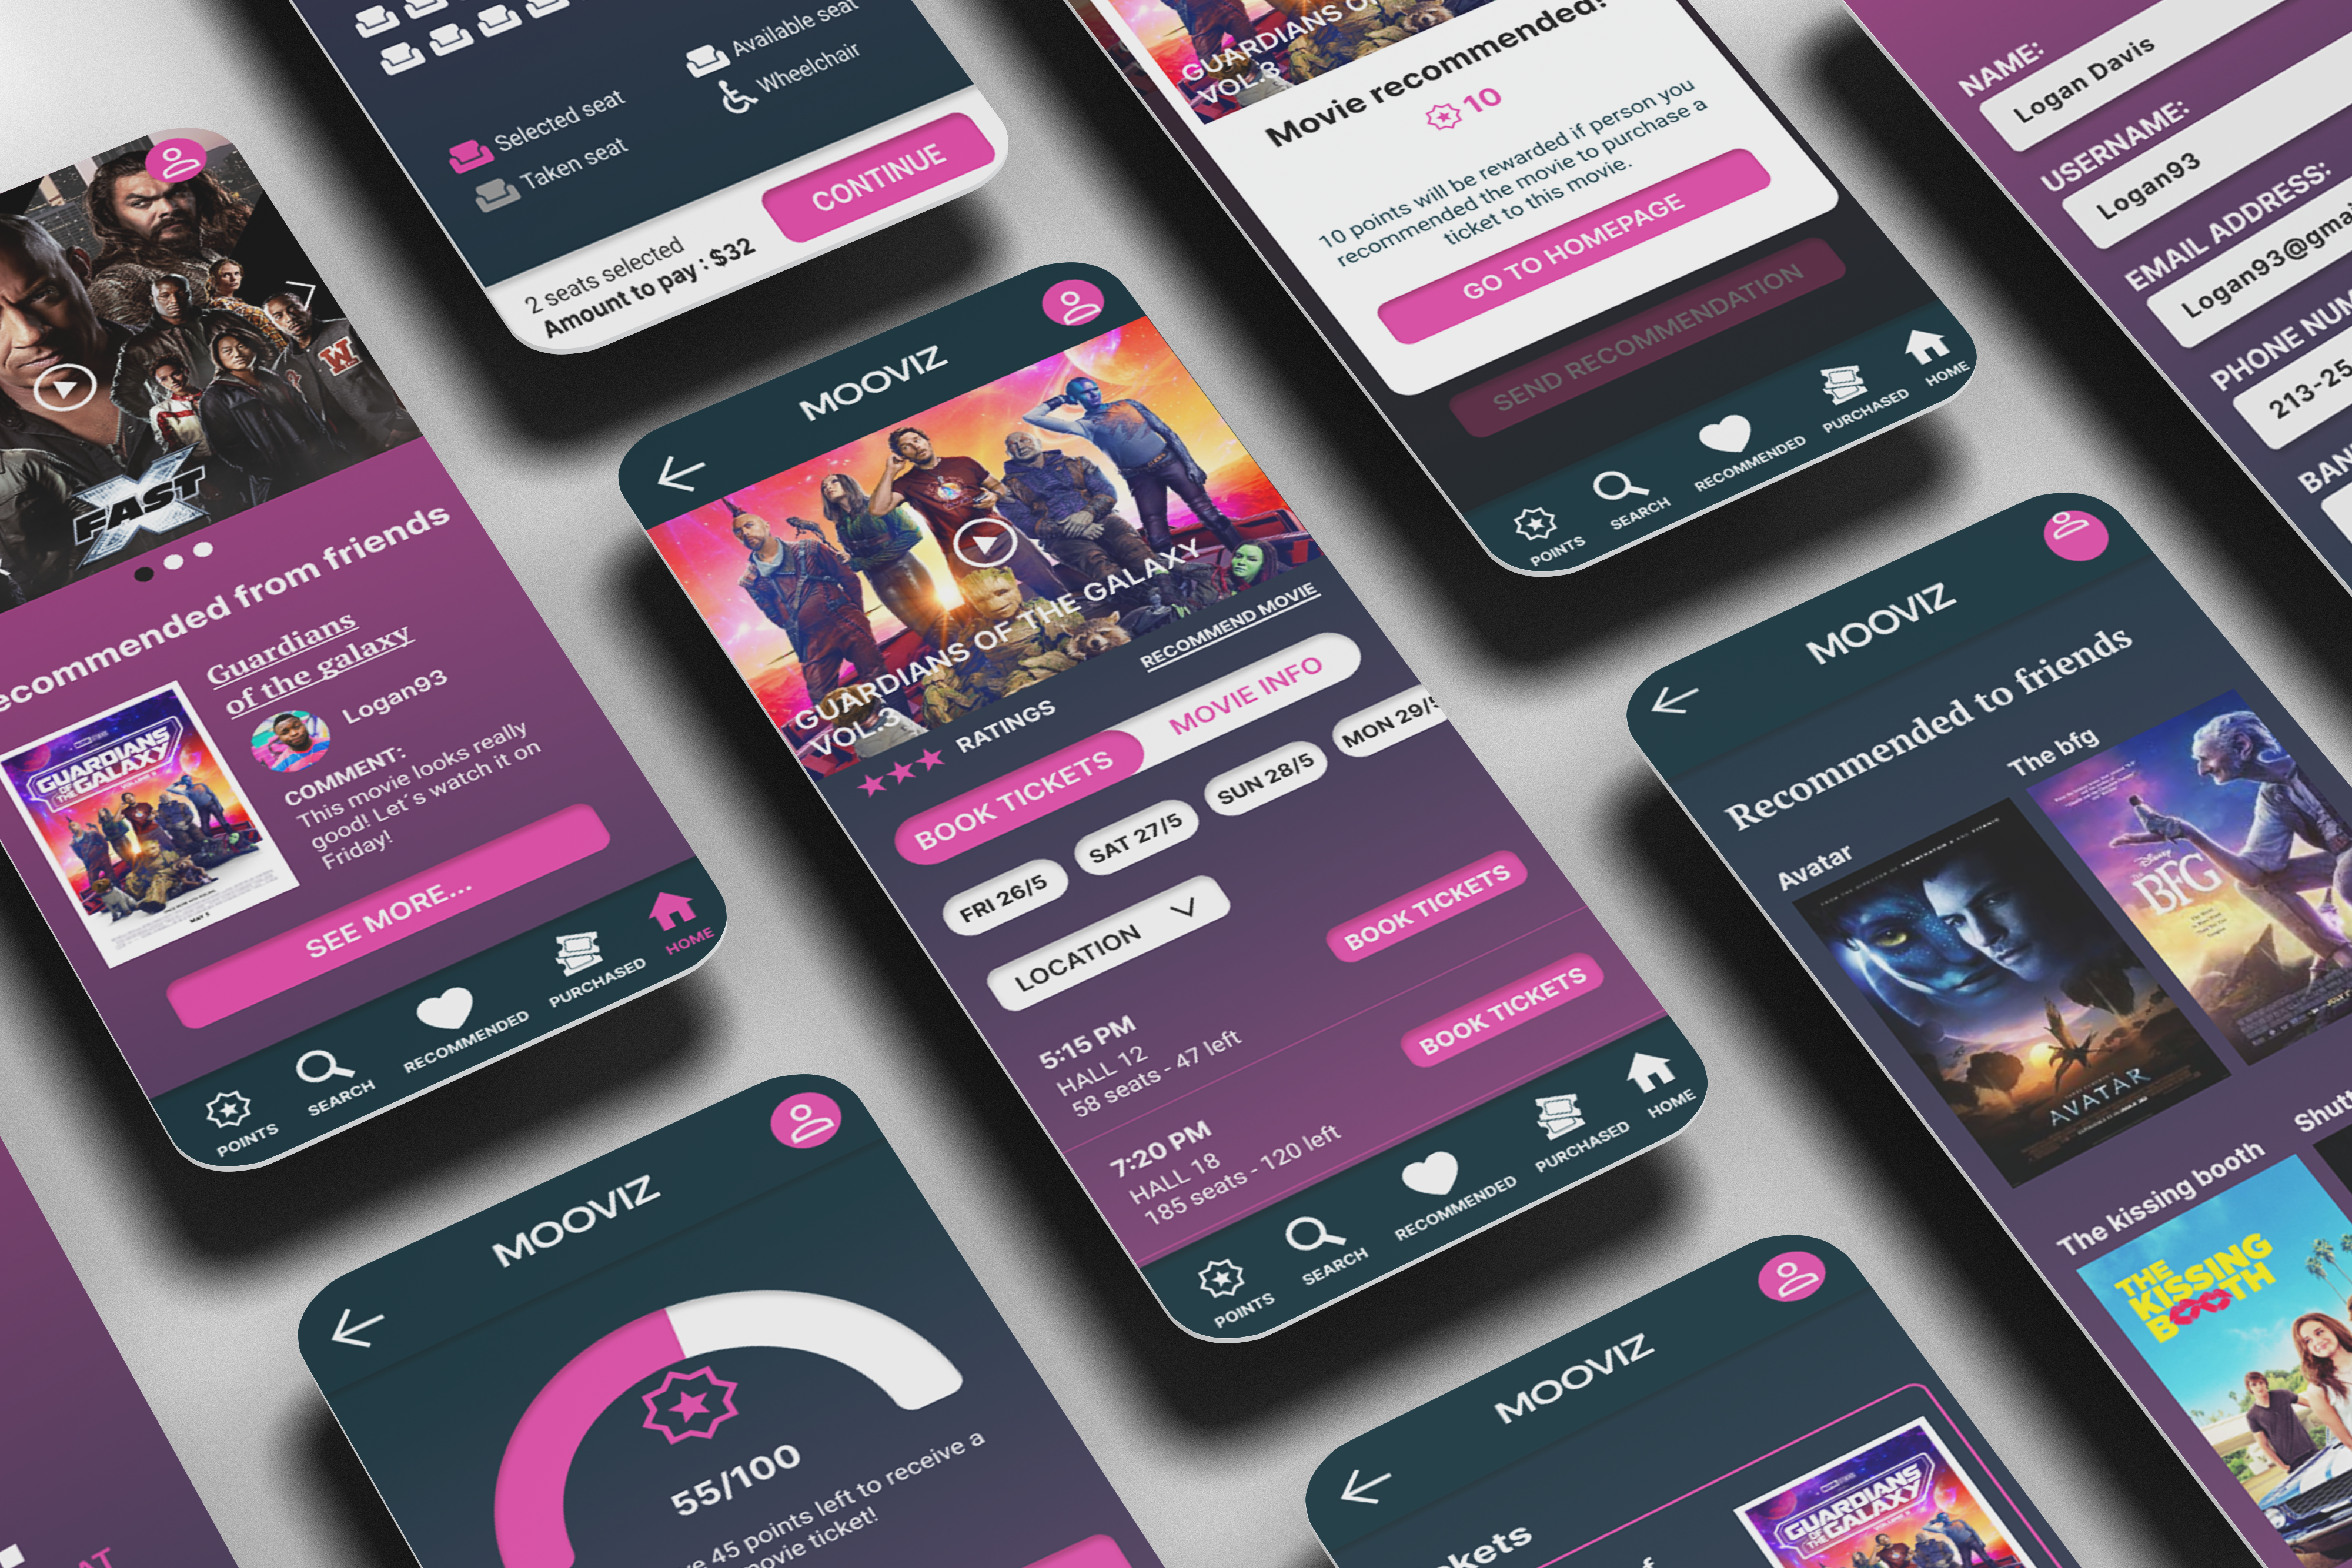
Designing a user-friendly interface is crucial for an app’s success. A professional UI/UX designer ensures that your app looks great, feels intuitive, and meets user expectations from the first tap to the last. At this stage, it’s worth considering partnering with a designer who understands how to create an engaging, seamless experience for your users—someone who can transform your ideas into visually appealing and user-friendly layouts.
If you’re ready to elevate your app’s design, I offer UI/UX design services tailored to help your idea stand out. Explore my services here to see how we can make your app’s interface effective, accessible, and engaging!

Step 5: Find a Developer
After you have a design, the next step is development. A developer will build the app’s code and bring it to life on a technical level. Here’s what to consider when hiring a developer:
- Check experience: Make sure they have experience building apps similar to yours.
- Review their work: Look at their past projects to ensure their skills align with what you need.
- Communicate clearly: A developer will need details about your app’s functionality, so be ready to share your plan and design.
If you’re unsure where to find a developer, try freelancing platforms like Upwork or Fiverr, or ask for recommendations.
Step 6: Start Small with a Minimum Viable Product (MVP)
A Minimum Viable Product (MVP) is a version of your app that includes only the core features. Starting with an MVP allows you to test the app with real users and get feedback without committing to a full, complex build. You’ll save money and time by starting small and improving your app based on user feedback before adding more features.
Step 7: Test and Gather Feedback
Testing is crucial. Use this time to make sure everything works smoothly and that the design is effective. Here are some easy ways to test:
- Do it yourself: Go through the app and try to spot any bugs or confusing elements.
- Ask friends or family to test it: Choose people in your target audience for the most helpful feedback.
- Get feedback from real users: If you have access to potential customers, ask them to try it out. Their input can help you make improvements and spot features that might need adjusting.
Step 8: Launch and Promote Your App
Once your app is working well and you feel confident, it’s time to launch! Think about how you’ll promote it:
- Create a simple website to showcase your app.
- Use social media to share your app with your target audience.
- Encourage reviews and feedback from your first users. Positive reviews can help attract more users and build credibility.
Bringing Your App to Life: Recap
Turning an app idea into reality doesn’t have to be overwhelming. Here’s a quick recap of the steps:
- Clearly define your app idea.
- Research your market and gather feedback.
- Create a simple plan.
- Hire a UI/UX designer to create an attractive, user-friendly design.
- Find a developer to build your app.
- Start with a basic MVP to test the concept.
- Test and refine based on feedback.
- Launch and promote your app.
Following these steps will give you a roadmap to turn your app idea into a real, functioning product – and maybe even the next big thing!

Comments